

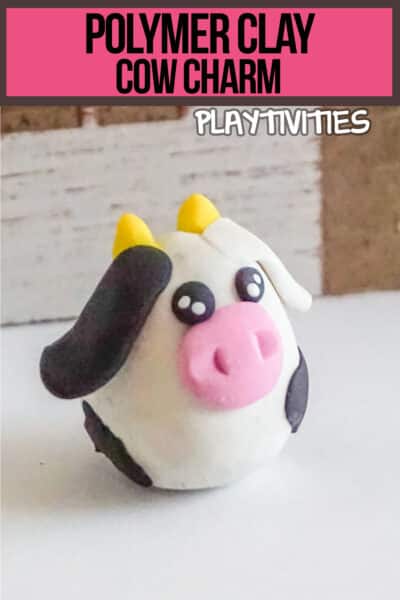
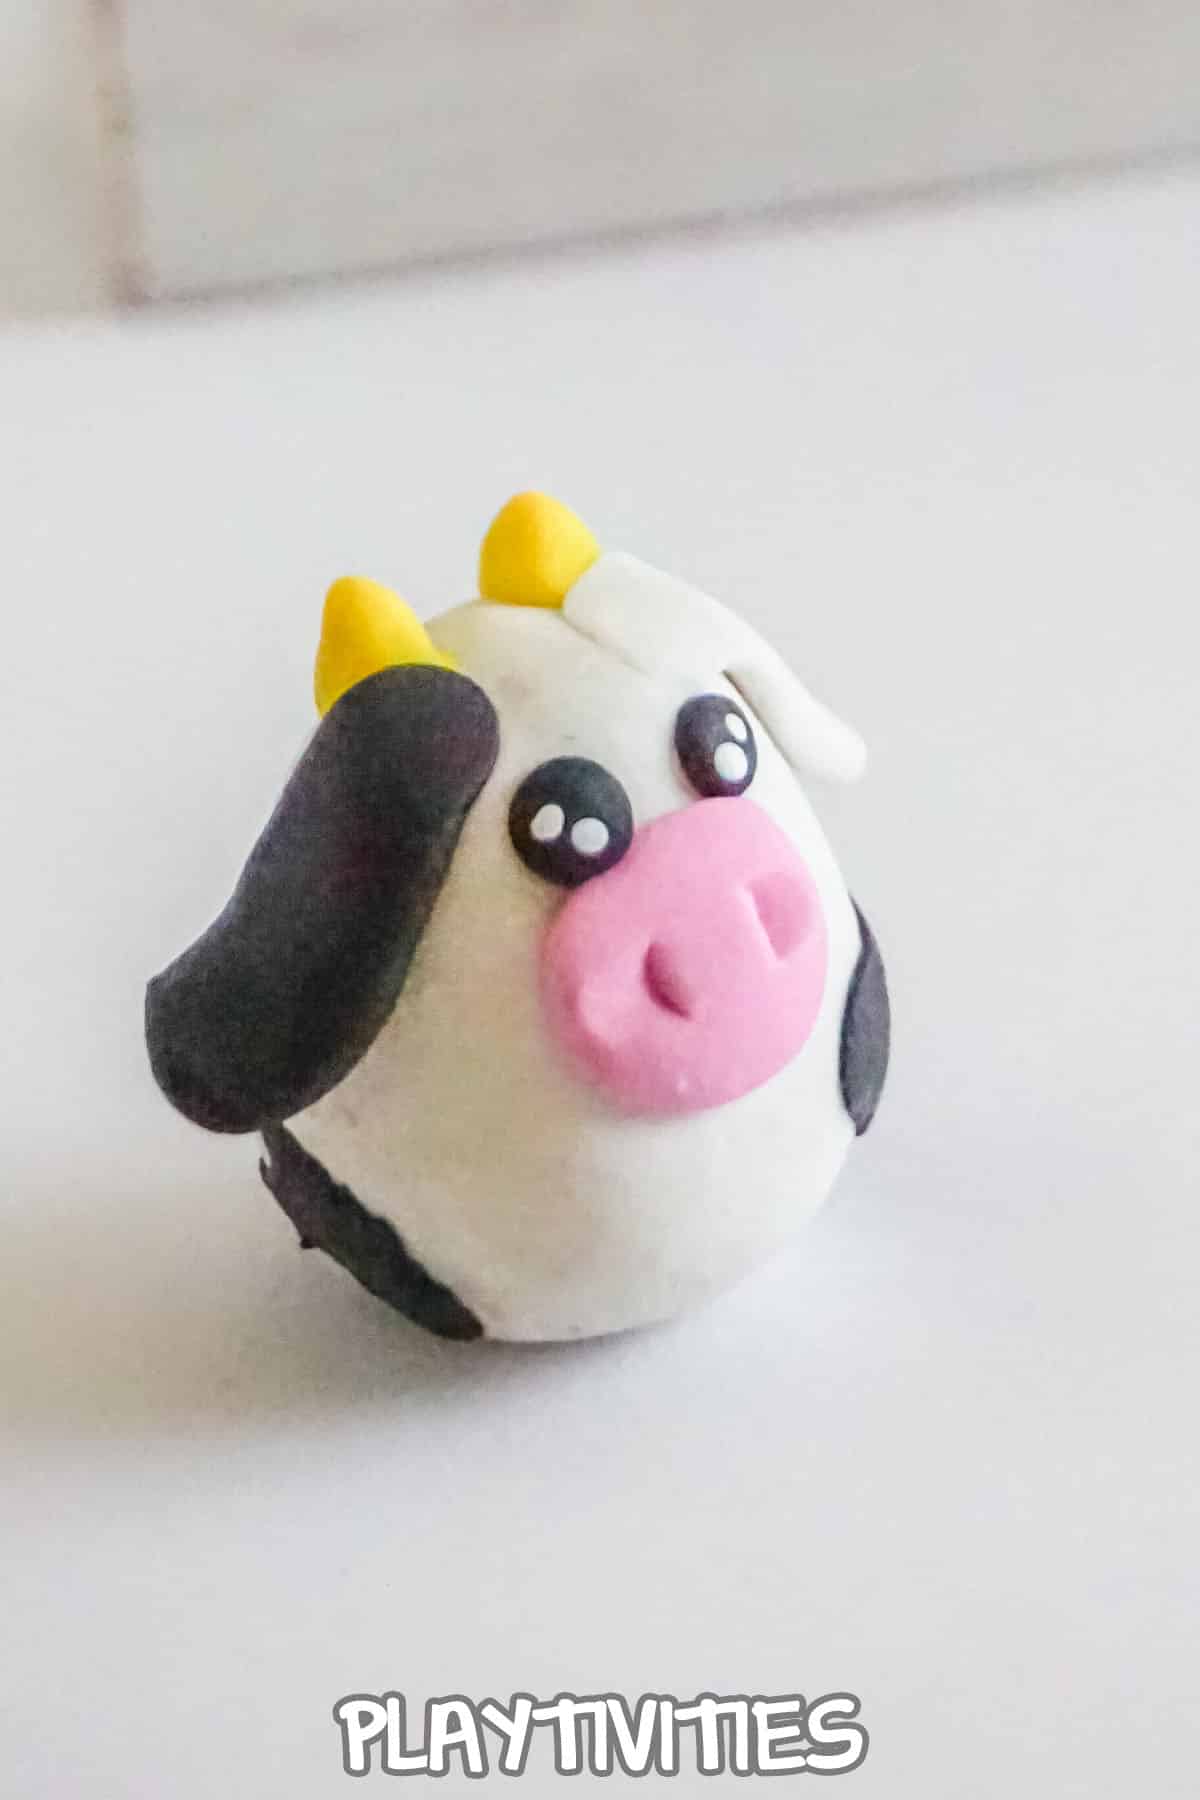
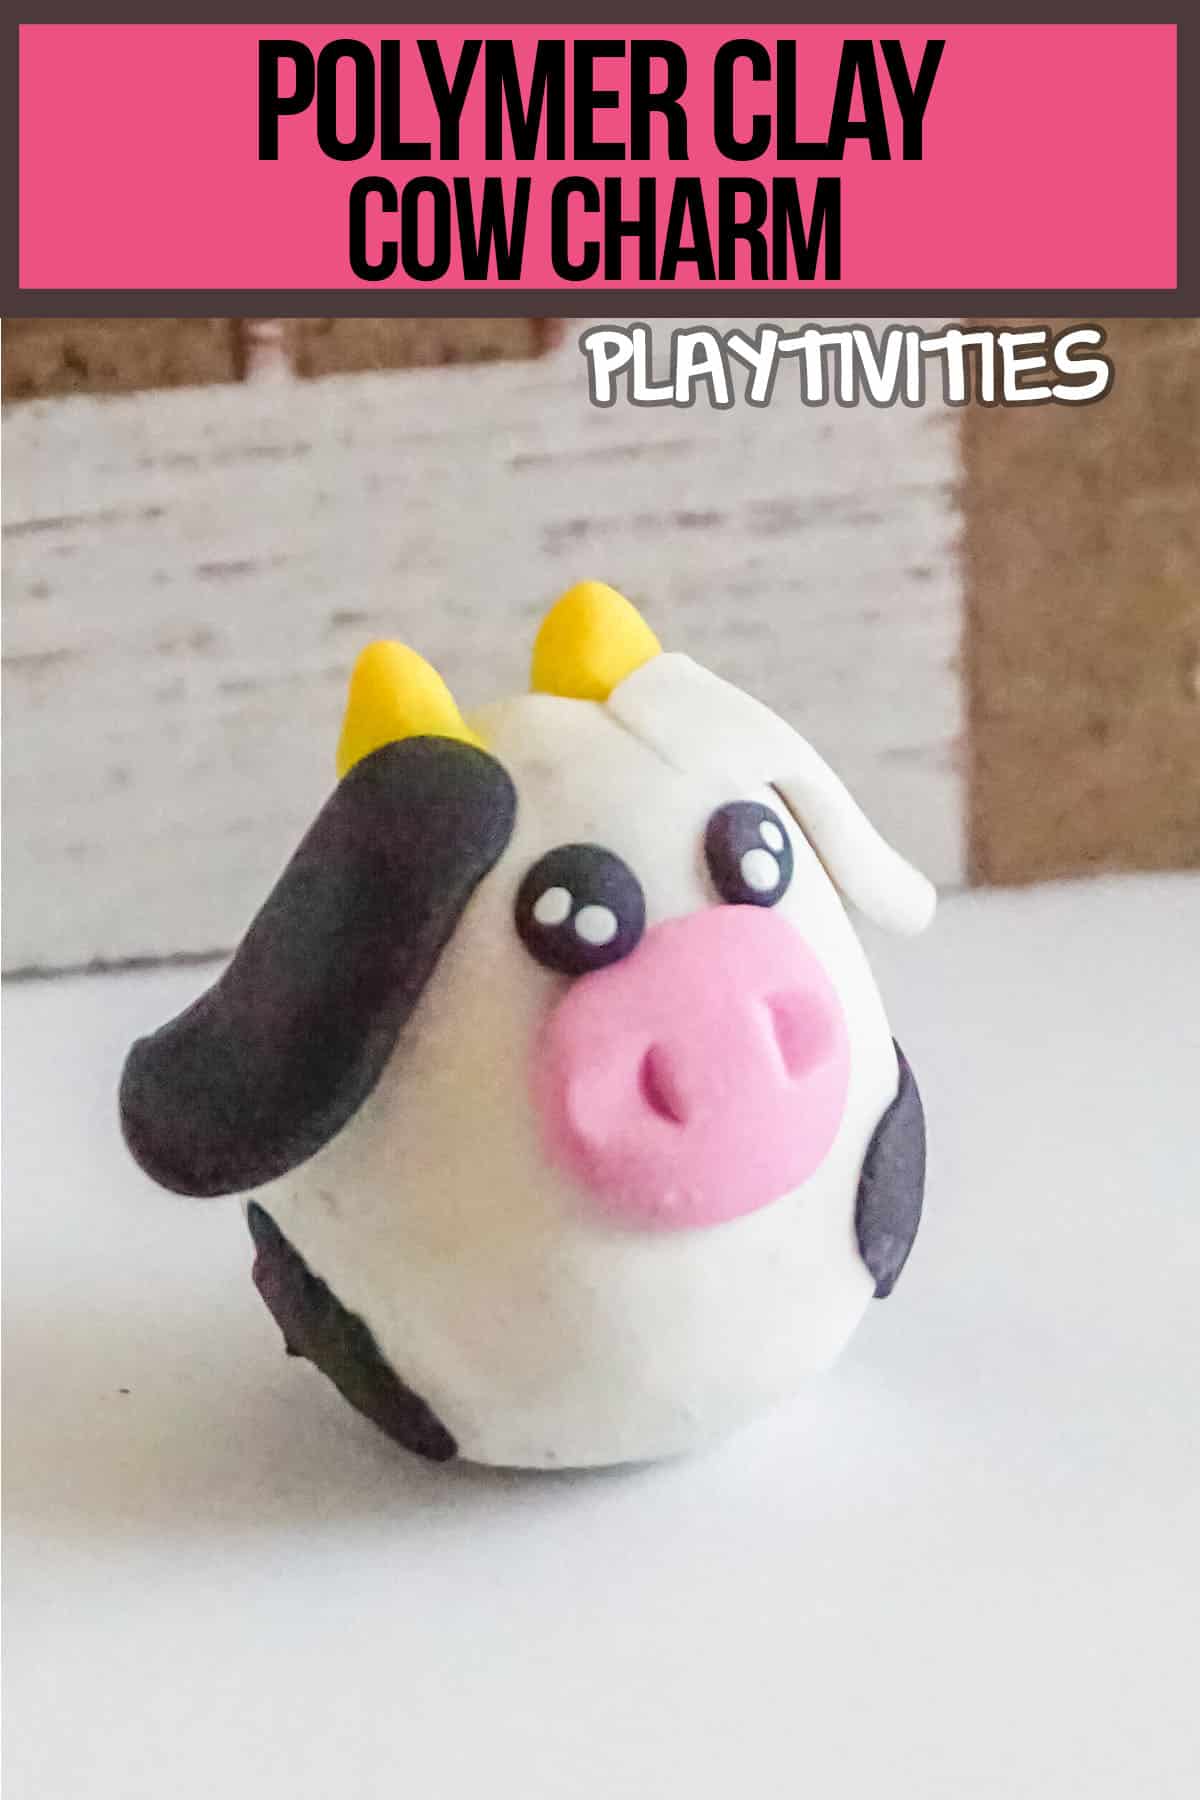
How To Make Cow From Clay
Spring to How-To
In this tutorial, we will show you how to make a cow from polymer clay. This is a great project for beginners and kids, and it is a lot of fun! We will walk you through each step of the process, and we will provide you with all of the necessary supplies. You tin use this cow equally a decoration, a amuse for a necklace, or a toy!

How to Brand a Moo-cow from Polymer Clay
What Is Polymer Clay?
Polymer dirt is a type of modeling clay that is made from polymers. It is very versatile and can exist used for a variety of projects. Polymer clay is available in a wide range of colors, and it tin exist molded into any shape that you lot desire. It is also very like shooting fish in a barrel to work with, and it sets quickly with merely a few minutes in the oven. But before y'all bake it, it will remain quite moldable for as long as you need!
Why Apply Polymer Dirt (Oven-Bake Clay) Instead of Air Dry Clay?
There are a few reasons why you might want to utilise polymer clay instead of air dry clay. Showtime, it is much more durable than air dry out clay. Once fix, polymer clay will not fissure or break as easily every bit air dry out dirt. 2nd, it is very easy to work with. You lot tin can mold it into whatsoever shape that you desire, and it sets quickly in the oven. Plus, you can work on information technology over multiple days, if y'all wish, to brand things that aren't just a 1-and-done.

How to Status Polymer Clay to Make it Like shooting fish in a barrel to Work With
The start footstep is to condition your polymer clay. This will make it softer and easier to work with. You lot tin can practice this by kneading the clay for a few minutes. If it is also hard, yous can add a drop or two of water. Once the dirt is soft, you can begin shaping information technology.
Exercise You Accept to Seal Your Polymer Dirt Creations?
No, you do non need to seal your polymer clay creations. But if you lot want to protect them from clay, dust, and other elements that could damage them, you can purchase a sealer at your local arts and crafts shop. Simply apply the sealer to your piece with a brush or cloth, and allow it to dry. Just be sure to purchase a sealant made for polymer clay so you don't terminate up with a sticky result or ane that lifts the colour.
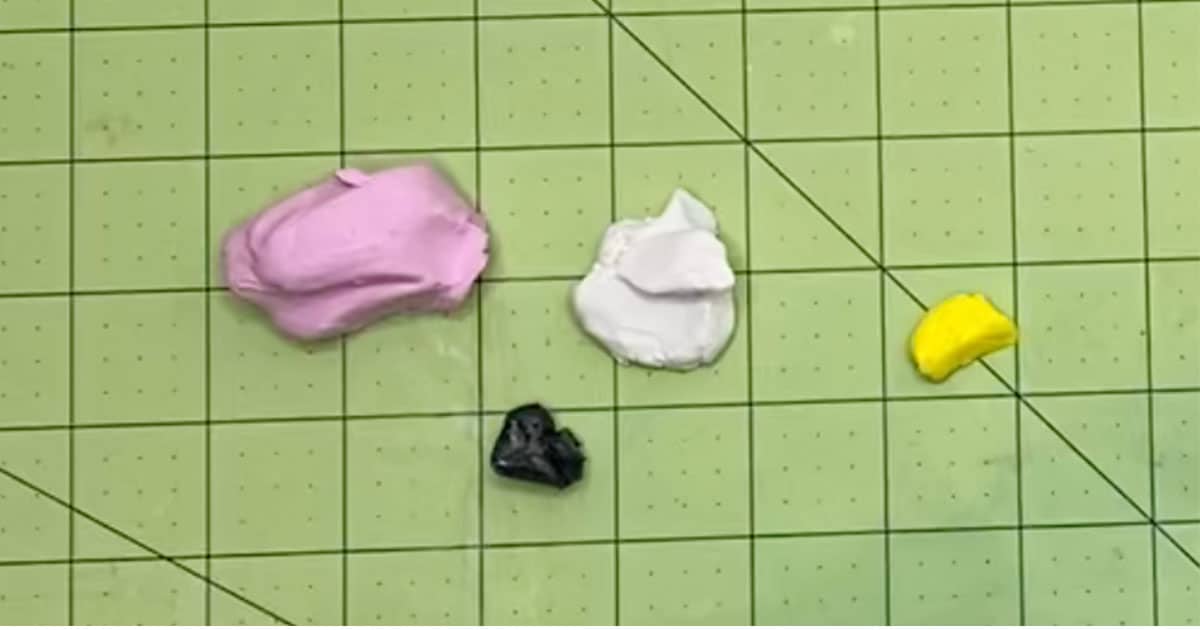
What Supplies Practise You Need to Make a Cow From Polymer Clay?
- Bright Yellow Polymer Clay
- Pink Polymer Clay
- Black Polymer Clay
- White Polymer Dirt
- Rubbing Booze
- White Acrylic Pigment
What Tools Do You lot Need to Make a Cow From Polymer Clay?
- Chopstick or ⅛-inch Dowel
- Oven
- Parchment Paper
- Baking Canvass
- Toothpick
- Paintbrush
How Do yous Brand a Polymer Dirt Cow?
Preheat your oven to the temperature noted on your clay packaging. For my clay the blistering temperature is 230-degrees F.
To brand the body of the cow, interruption off a small portion (nigh ane inch square) of white dirt.
Roll the white dirt into a nice, slap-up brawl that is very smoothen, then curl and shape the top (your choice of which terminate is the meridian) into a bit of a wide-domed cone. This should exist as rounded and smooth as yous can become it.
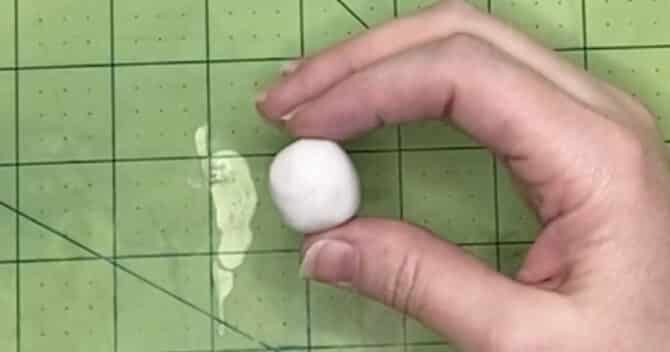
Mash the other cease of the white clay into a flat bottom.
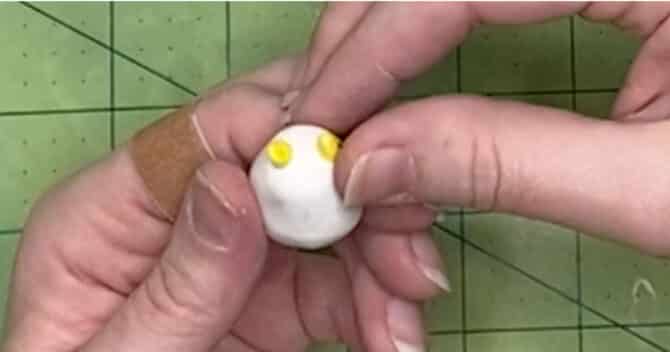
Make the horns by pinching off two very small pieces of xanthous dirt (virtually ¼-inch long by ⅛-inch wide each). Coil each of these into small cones and affix them to either side of the summit of the white clay. To help the edges affix, y'all can employ a paintbrush to work the edge of the yellow into the white.
Brand the white ear by pinching off a small piece of white clay (nigh ½-inch long past ¼-inch wide) and mash it flat and long (when mashed flat, it should be about ¾-inch long by ¼-inch wide). Affix this to one side of the head of the cow, in front of the horns. At least ⅓ of the ear should be atop the cow's head with ¾ of the ear drooping downward.
Brand the olfactory organ by pinching off a piece of pinkish dirt (almost ¼-inch foursquare) and flattening information technology, rounding the edges, to brand a rounded corner, flat rectangle. Press this onto the front of the cow, about halfway up the torso.
Add the nostrils past gently pressing the terminate of your chopstick into each side of the pink nose area, pressing the side of the chopstick in but a niggling to give it some character.

Add eye sockets by pressing the end of the chopstick twice into the infinite between the nose and ear, leaving a deep crater where the eyes will go.
Add the eyes past pinching off the tiniest piece of black clay (about 1/xvi-inch square) and rolling information technology into a tight, corking ball. Repeat to brand two balls, then printing them into the craters you made in the concluding stride.
Brand the black ear by pinching off a small piece of black dirt (about ½-inch long by ¼-inch broad) and mash it flat and long (when mashed flat, information technology should be almost ¾-inch long past ¼-inch wide). Affix this to one side of the head of the moo-cow, in front of the horns. At to the lowest degree ⅓ of the ear should be atop the cow's head with ¾ of the ear drooping downwardly.
Add the black spots by pinching off a small piece of black clay (about ¼-inch square) and mash information technology flat and round, only with loosely wiggly edges. Repeat to make 3-4 spots. Stick each spot onto the body of the cow by pressing it in firmly.
Make clean your fingerprints and tiny imperfections from your cow by gently brushing the cow with a paintbrush dampened in rubbing alcohol. This does not accept to be super wet with the alcohol, just a little goes a long way. Take care to brush the white parts first, followed by the darker colors and so that no blackness dirt smears on your white clay.
Bake the moo-cow per the instructions on your clay packaging. Allow to cool completely before treatment.
Using the finish of a toothpick, place the smallest dot of white paint on the black role of the eyes.
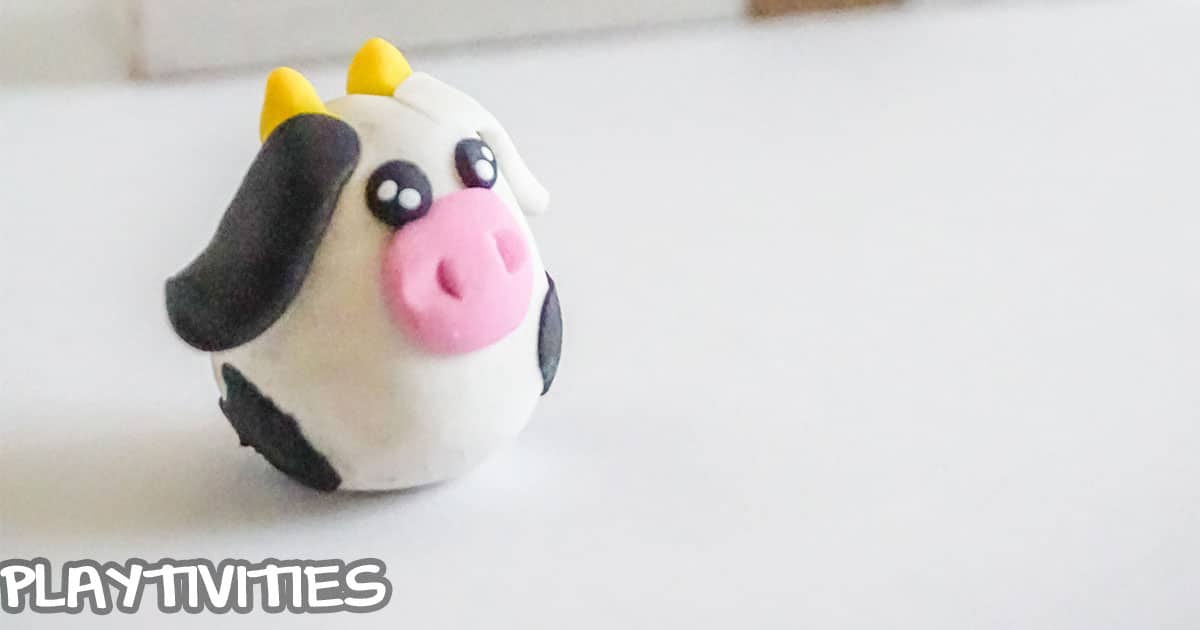
Let the paint to dry then enjoy!
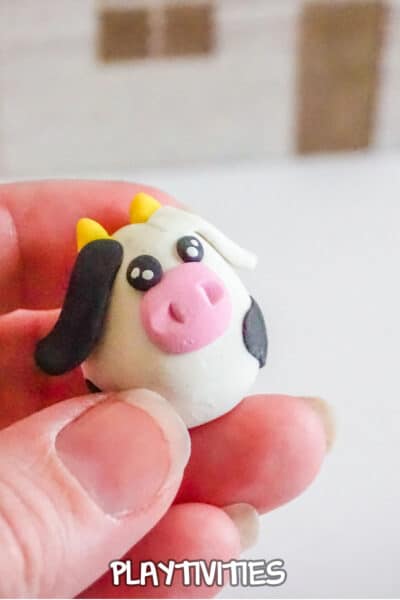
Isn't this simply the funnest petty arts and crafts?! If you wanted to plow it into a charm, you lot'll merely add an heart hook and chain. I personally just love having the figure on my desk.
If yous loved this as much as I do, be sure to pivot it to your favorite craft board on pinterest and so y'all can detect information technology again fast when you lot're ready.
More than FUN KIDS CRAFTS YOU'LL LOVE
- Weather Science Experiments for Kids
- Ballsy Fort for a Cozy Family Evening
- 50 Fine art Supplies from Your Trash
Active Time 10 minutes
Additional Fourth dimension 30 minutes
Total Time xl minutes
Difficulty Easy
Estimated Cost $3
Materials
- Bright Yellow Polymer Clay
- Pink Polymer Clay
- Blackness Polymer Clay
- White Polymer Dirt
- Rubbing Alcohol
- White Acrylic Pigment
Tools
- Chopstick or ⅛-inch Dowel
- Oven
- Parchment Paper
- Baking Sheet
- Toothpick
- Paintbrush
Instructions
- Preheat your oven to the temperature noted on your clay packaging. For my dirt the baking temperature is 230-degrees F.
- To brand the body of the moo-cow, break off a small portion (well-nigh 1 inch square) of white clay.
- Roll the white clay into a nice, neat ball that is very smooth, and so curl and shape the tiptop (your choice of which stop is the acme) into a bit of a wide-domed cone. This should be as rounded and smooth as you can get it.
- Mash the other end of the white clay into a flat lesser.
- Brand the horns by pinching off 2 very pocket-size pieces of yellow clay (nearly ¼-inch long by ⅛-inch wide each). Roll each of these into small cones and affix them to either side of the tiptop of the white dirt. To help the edges affix, you can utilise a paintbrush to work the edge of the yellow into the white.
- Brand the white ear by pinching off a pocket-sized slice of white dirt (about ½-inch long past ¼-inch wide) and mash it apartment and long (when mashed apartment, information technology should be most ¾-inch long by ¼-inch wide). Affix this to one side of the head of the cow, in front of the horns. At least ⅓ of the ear should be atop the moo-cow'due south head with ¾ of the ear drooping down.
- Brand the nose by pinching off a piece of pink clay (about ¼-inch square) and flattening it, rounding the edges, to brand a rounded corner, apartment rectangle. Press this onto the front of the cow, about halfway up the torso.
- Add the nostrils by gently pressing the terminate of your chopstick into each side of the pink nose surface area, pressing the side of the chopstick in just a trivial to give it some character.
- Add eye sockets by pressing the end of the chopstick twice into the space between the nose and ear, leaving a deep crater where the optics will go.
- Add together the eyes past pinching off the tiniest piece of black clay (about 1/xvi-inch square) and rolling information technology into a tight, neat ball. Echo to make ii balls, so printing them into the craters you made in the concluding pace.
- Brand the black ear by pinching off a small piece of blackness dirt (about ½-inch long by ¼-inch wide) and mash it flat and long (when mashed flat, it should be near ¾-inch long by ¼-inch wide). Braze this to one side of the head of the cow, in forepart of the horns. At least ⅓ of the ear should exist atop the moo-cow's head with ¾ of the ear drooping down.
- Add the black spots by pinching off a small piece of blackness clay (most ¼-inch foursquare) and mash information technology apartment and round, merely with loosely wiggly edges. Repeat to brand 3-4 spots. Stick each spot onto the body of the cow past pressing it in firmly.
- Clean your fingerprints and tiny imperfections from your moo-cow by gently brushing the cow with a paintbrush dampened in rubbing booze. This does non take to be super wet with the alcohol, just a piddling goes a long fashion. Accept intendance to castor the white parts first, followed by the darker colors then that no blackness clay smears on your white dirt.
- Bake the moo-cow per the instructions on your clay packaging. Allow to cool completely before handling.
- Using the finish of a toothpick, place the smallest dot of white paint on the blackness part of the eyes.
- Allow the paint to dry out and then enjoy!
Source: https://playtivities.com/how-to-make-a-cow-from-polymer-clay/
0 Response to "How To Make Cow From Clay"
Post a Comment